
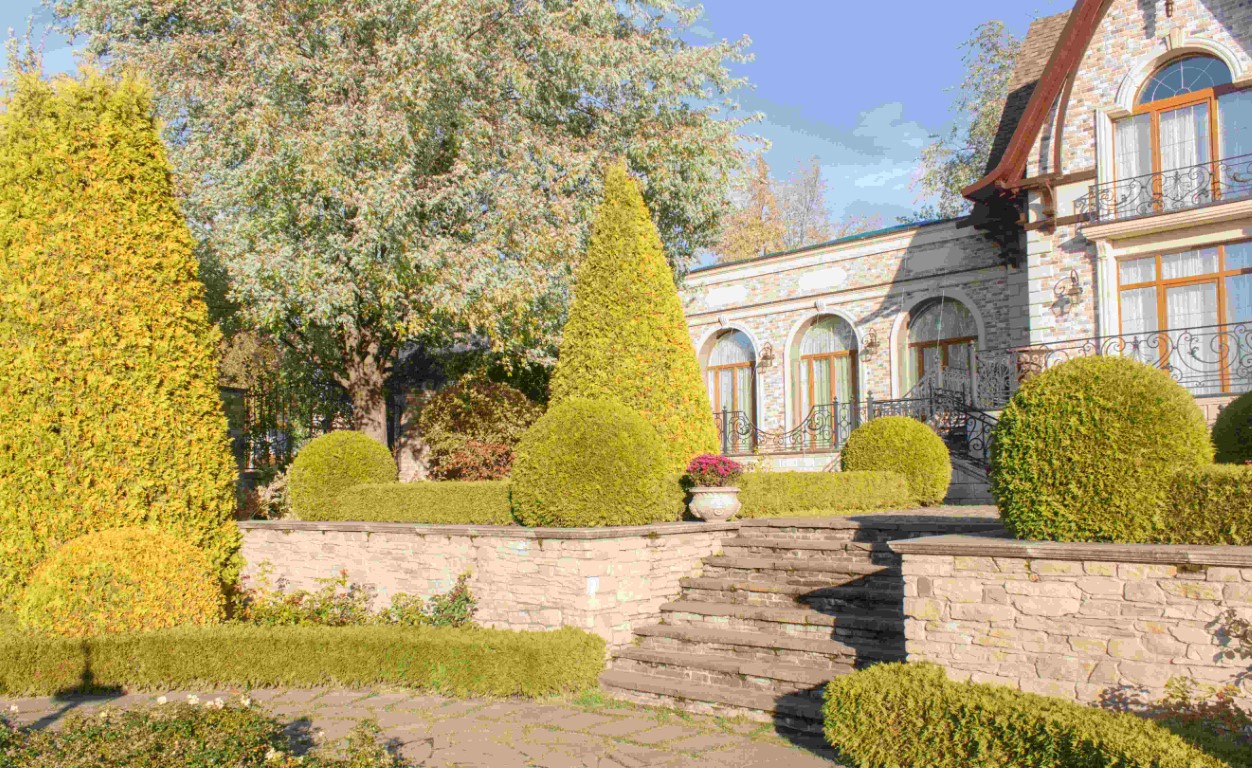

Retaining wall installation, which is incorporated into the stairs, will utilize all the functions of the outside space and increase the attraction in your landscape. This is a simple way to make the most of the curves in your yard by building a retaining wall stair design. In this way, the slopes in your backyard will also be replaced smartly, which will impress your guests come to your stairway design.
When planning to build stairs into the retaining walls, you should find out what to do before going to any physical works. Learning thoroughly all the techniques and skills to plan and build retaining walls and steps is required because this process is in the intermediate complexity level and will need a couple of days to finish. If you want to figure out how to build sturdy retaining wall stairs step by step, keep reading and the following details would be all you need for your striking design.
Or contact us for more details!
TABLE OF CONTENTS
- I. Before You Start for Retaining Walls Installation
- a. Required Tools
- b. Required Materials
- II. Stair Design
- III. Stair Installation
- IV. Search for Professional
I. BEFORE YOU START FOR RETAINING WALLS INSTALLATION
The first thing you should do is to check the local codes for requirements and check whether there are any underground utility lines before going to any steps of building the retaining walls. In case you’d like to hire a landscaper instead of DIY, make sure this address also has the permit from your local area.
Keep checking the water runoff and drainage in mind during this project and ensure that the water systems from your house will not be puddled and reduce the endurance of stairs.

a. Required Tools
To install retaining walls DIY, make sure you have these right tools. The process will be easier for you and save your time with them:
- Round point shovel: This is useful for moving plants, excavating, and establishing a foundation.
- Square blade shovel: It’s ideal for laying down materials like gravel or sand and grading the region.
- Rake: It’s useful to level out the base rock.
- Tamper: Helpful to tamp down the area.
- Level and line-level: Check to see if the work area and the rows of retaining walls are levels.
- Hammers: To drive stakes into the ground, a mallet and a 5-pound maul may be useful.
- Adhesive and caulking gun: If you wish to attach finishing caps or add steps, these supplementary materials will come in handy.
- Garden hose: to adjust the path positions for steps
- Plate compactor
- Diamond blade saw
In addition, you should prepare safety glasses and a dust mask to protect yourself from physical harm.
b. Required Materials
You should plan a list of which materials you need to buy ahead of time you go shopping. This will help you save a significant amount of money and time. This list will include:
- Wall blocks: there is a catalog of each manufacturer that you can opt for your different options of style, color, size, and pattern. Take a firsthand look and compare the prices.
- Corner blocks
- Stair blocks
- Retaining wall blocks
- Adhesive
- Concrete pavers
- Sand and gravel
- Landscape fabric
II. STAIR DESIGN
You can have the retaining wall stair designed followed the curves or straight lines. While the curves will create a natural look for the stairs design because it’s like an existing part of your home landscape, the straight lines are more rigidity and traditional, relevant to some vintage patterns. However, some homeowners take the wrong thought that it is easier to install a straight-line stair. In fact, the traditional stair – the straight one – will require the corner blocks and take more time to build than another.


Tackle your slope and determine the number of steps
When finishing choosing which type of design for your stairs, you should plan to use a string line to measure the number of stone steps they require. When you build stairs, you will need to adjust them with the natural rise of your slope. Depending on the type of blocks you choose, the measurement of the rise and run will vary. Normally, the approximate height of a block will get at least a 6-to-8 inch rise, and 12 inches run.

This means that if the slope rise in your yard is about 48 inches, you should divide it to 6 or 8, depending on each step block you intend to use. For example, if the block has a height of 6 inches rise, you’ll already need to install 8 steps.
For abrupt slopes, it’s better to keep the blocks tight together. To increase the depth of the stair tread and the length of the run, you could add pavers or other materials such as sand or gravel, etc. to gentler slopes.

III. STAIR INSTALLATION
The installation of stairs in a retaining wall project demands the same care and attention to detail as the thorough construction of the wall itself. You need to spend adequate time and knowledge to build stairs in quality, as well as layout the detail design.
Step 1: Determine Stair Riser Locations

Mark the middle of the stairs for the installation of the base stair riser. The first stair riser is an extension of the foundation course of the retaining wall into which the steps are being built. Each stair riser requires a minimum of 6 inches of base material beneath it that continues at least 6 inches behind the retaining wall block.
Step 2: Excavate
Excavate the stair position depending on the rise and run after determining the number of stairs and the kind of stair tread.

To meet the foundation material criteria, mark the remaining stair risers from the base stair riser location and remove the dirt. If more soil was taken than necessary during excavation, it should be replaced with wall rock throughout the construction phase. Excavated and recovered soils must be properly compacted.

After the excavation, as with other standard segmented retaining walls, prepare the base and base course and compact the base trench. Place at least 6 inches of wall rock in the foundation trench and rake smooth before using a plate compactor for at least two passes, then inspect for level and adjust any required changes.

If you want to create a drainpipe, continue to place a pipe into the trench of the base course.
Step 3: Install the base
Put the retaining wall blocks towards the front of the trench, with the raised front lip facing up, make sure the surface is flat in both directions and that the vertical seams are staggered. Use on-site soils to fill up the space in front of the blocks in order to prevent the base course bricks from moving while filling and compacting.

Fill the hollow cores (at least 12 inches) and behind the blocks with impermeable fill, compacting to the final grade. The top of the block foundation course must be level with the stair tread area, and any extra spaces behind the wall rock with infill or approved on-site soils must be filled in. Use the plate compactor to compact the wall rock behind the block towards the direction parallel to the wall from the back of the block, across the stair tread area, and to the rear of the excavation area. Remember, always compact in lifts of 8 inches, or maybe less.
Step 4: Install the first stairs riser

Determine the distance between the first and second stair risers, make sure that the blocks are equivalent to the base course. The blocks should be placed on top of the compacted zone and 6 inches is the distance of wall rock behind them. To achieve the best results, set a block against the wall that provides an indication point and level between the blocks used for the stair steps.
Place them close together to make a curve, potentially trimming the block if that is necessary to suit the pattern of the authorized designs. As before, compress and level the rocks.
IV. SEARCH FOR PROFESSIONAL
In case you want to design a retaining wall block for your house but you’re not sure about what to do first, the best thing you should do is to find a professional in this field to help you with this project. They have experience and the right tools for each work of this project. Search the information on the Internet and find an address around your location. They will probably prepare the tools and materials for you, as well as from the design work to the physical one.

Green Arbor Landscaping is renowned as a 35-year qualified and experienced landscaping company. Since 1998, Green Arbor has offered various services packages and serves customers all around Bothell, Issaquah, Renton, Maple Valley, Bellevue, and the surrounding communities. The products Green Arbor serving are diversified. See the list of our products.
You can also search for other clients’ comments about the Green Arbor service site which will absolutely satisfy your expectations with their experiences and enthusiasm. You can check some reviews below on the Google site:
Rose Grace: “Would happily recommend the team at Green Arbor Landscaping & Maintenance to anyone looking for professional service and a great, customised result. Their assistance in the design stage helped us identify a landscaping solution we didn’t think was possible and the end result was better than we could’ve imagined for our difficult block. Very friendly staff, professional service and communication with exceptional post-completion support.”

Brian Compau: “Can’t speak highly enough of Green Arbor Landscaping & Maintenance! I had such a wonderful experience working with them from start to finish on my new backyard landscape installation. They helped me make my vision for my backyard a reality with remarkable professionalism, creativity, and timeliness. Loved working with all members of the team. Definitely recommend!”

To contact Green Arbor for a free quote estimate here is some information that you might need:
- Phone call: (206) 265-2940
- Email: info@greenarborlandscaping.com
- Site: https://greenarborlandscaping.com/