
A paver walkway is the best choice for many gardeners to transform their simple outdoor room into a focal point in the garden. By choosing the right layout and paving stones, the walkways can easily add more beauty and enhance your home’s curb appeal that allows your family and friends to access your property with welcoming feelings.
Moreover, walkway pavers with so many types of materials such as concrete, brick, gravel, and stone along with other garden’s additional functions will create a dream outdoor landscape in the backyard, especially in slope areas.
And when it comes to a paver walkway project, there are many growing questions on how to design and install unique walkways in your living space. This article is all you need to finish it yourself or hire Green Arbor Landscaping as a landscape professional with our additional services which will serve you quickly and cost-effectively as much as possible.
DON’T HESITATE TO CONTACT US – CALL US RIGHT NOW (206) 265-2940
PAVER WALKWAY IDEAS

The walkway design is famous for its variety in colors, patterns, style, and size which even plays well with small areas. You will be welcomed right away from the very first step onto the patio walkway across the stunning landscape design of homeowners. No matter how curved and slope your patio is, the walkway ideas are always diverse for you to install depending on your desire.
From brick, stone, to concrete, traditional to modern design, there are several impressive pavers for your walkway ideas you can take for decorative purposes.


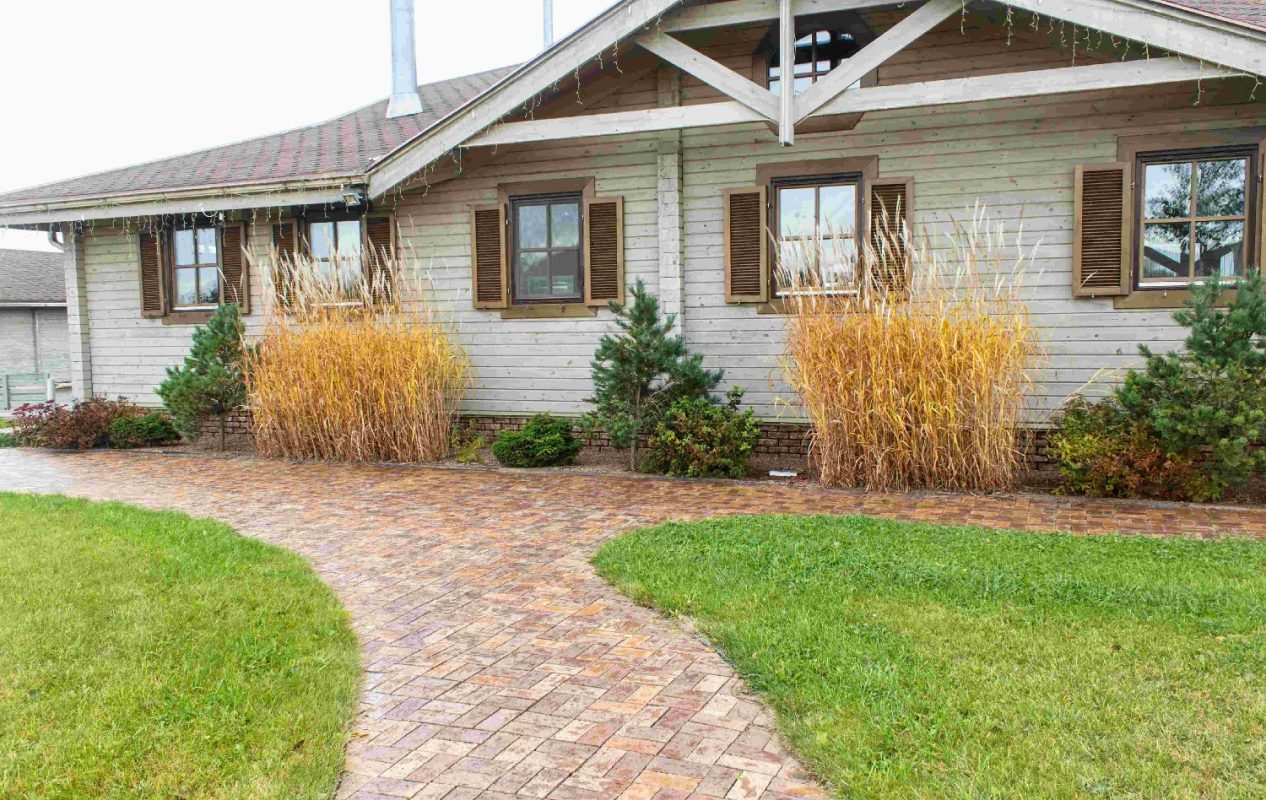
Traditional Paver Walkway
The traditional walkways are the simplest designs to enhance the garden and home’s value and curb appeal, in which the walkway installation process is easy as well. This type of design brings a familiar but formal feeling to who comes to your personal property from the first step.

This walkway includes several layers with a 1-inch-layer of sand, a 6-inch-layer of gravel base, and jointing sand between the pavers connected by joints. Or you can use base panels instead of gravel bases because of their lightweight.


Concrete Pavers
Today’s concrete textures offer more choices than others before which will be colored to look the same as other walkway materials. It takes just a few days and fewer costs to install concrete pavers. This concrete design marks the warm beauty of the yard that the traditional walkways can’t match at all.

Gravel Walkway
Gravel is not expensive and is the top landscape fabric used as a weed barrier to prevent the growth of weeds. Gravel is not only used for driveways as we usually see but also for common pavers. With its characteristic of a versatile-and-informal look as well as low cost, gravel comes in many sizes and colors to make an elegant contrast with the gray color of stones.

Commercial Walkways

Not only do resident areas need walkways for decorative purposes but also businesses want to customize their building to offer accessibility as one of their services to access to the companies for commercial purposes. A commercial walkway gives customers a clear path and connects two buildings or parking areas to the office which will guide visitors to the right line they should go.
Especially during harsh weather, a commercial walkway is totally all you need for both visitors and your staff to easily access the building.

Some commercial walkway designs that you can look up for your own business:


TOOLS & MATERIALS NEEDED
This installation process involves some hard work with the difficulty level of 4/5 that you must grab some tools and materials needed along with you before going to the physical process.
Tools Required
- Shovel
- Hand Tamper
- Rubber Mallet
- Tape Measure
- Steel Rake
- Plate Compactor
- Spade
- Stakes and String
- 2-foot level
Materials Needed
- Patio Pavers
- Polymeric/ Jointing Sand
- Plastic paver edging
- Gravel road base
- Paver base panels
- Leveling sand
CONTACT GREEN ARBOR LANDSCAPING FOR THE PREPARATION OF A WALKWAY PROJECT!
PLANNING FOR PAVER WALKWAY

Start the walkway project by deciding which style will be relevant with your whole home design, and patterns on it. A classic layout of a walkway rarely plays well with a modern house! You need to identify whether you want just a decorative look to be easy to install or more advanced patterns to construct. This will be useful for you to choose which layout might be alright: pinwheel patterns or just like stones.

The next is deciding the width of your walkway by using wooden stakes! Generally, the standard width is about 36 inches. Meanwhile, 48 inches in width would be adequate space for 2 people walking side by side along the walkway.

And the most important: call the dig line and check local building codes to know whether there are any restrictions or requirements about underground utilities to follow before purchasing materials. In some areas, there are even building permits that you must have before installing anything.
PREPARE AREA FOR THE WALKWAY INSTALLATION
Step 1: Layout the Walkway
For straight walkways, using stakes and string is the best way to layout the area where you plan to create a walkway. Then, use a line level to level the equal strings with the diagonal is equal that shows the string layout is square. This will be significant when you’re going to place square stones into the path.
NOTE: REMEMBER TO TAKE THE EDGING INTO ACCOUNT!

For the curved patio, you should use a 2×4 hose to mark the same width of walkways and then use the spade to cut the sod. The cutting sign could indicate which area you need to dig once you finish removing the hose.

For slope areas, keep the walkway slope away from the house pavers. Per foot of the sloped yard, plan about 1/4 inches to drop the natural slope.

Step 2: Mark the Borders
Once you lay out the pavers and determine the width of the walkway, mark your layout as well as the border with a string directly onto the ground level.

Step 3: Sweep Sod and Dirt
After you’ve finished marking the border of the layout, sweep sod and rocks which are already on the ground. You should install the pavers just above the ground level, so removing all stuff will keep the surface flat and the slope uniform.

As well, removing trees from the garden before going to install the walkway could prevent the unwanted accident that the tree roots uproot your pavers afterward.

Step 4: Tamp the Ground and Add Weed Barrier
Once you remove all sod and dirt on the patio, use either a hand tamper or plate compactor to tamp the area as level as possible where you’ve planned to build the walkways. The hand tamper will particularly play well with small areas in your outdoor living room.

When the base is totally compact, adding a weed barrier will enhance and extend the overall look of the pavers.

INSTALL THE WALKWAY FOUNDATION
In this project, preparing for the walkway base is essential to keep the pavers stable.
Step 1: Dig out the Trench

Generally, you’ll need to dig a trench about 7 – 8 inches in depth if the walkway is just for pedestrian traffic. If there is a walkway for vehicular traffic onto it, you must consider digging the trench from 9 to 13 inches. This measurement of the trench is usually wider than the walkway to provide enough space for other panels and edge restraints.
And remember to call for a dig line to check the underground utilities before going to dig your soil up.
Step 2: Excavate Paths
Use a shovel to excavate the paths and slope the surface drop 1 inch in every 4 feet. This step will make the drainage process much easier.

Step 3: Set the Paver Panel
The paver panels require a layer of sand which the sand base still keeps the natural shape of slopes uniform. Lay the first panel against the patio or any straight edging and follow with other panels, in which the next one will overlap the grooves of them. These panels should be kept wider from 1 – 2 inches beyond the width of the walkway and mark the excess sand.

WE PROVIDE YOU WITH ALL SERVICES YOU NEED FOR YOUR LANDSCAPING GARDEN –CALL US AT (206) 265-2940
INSTALL THE PAVERS
Step 1: Cut and Lay Paving Stones
The first thing to do is raze the sand bed, then lay out one or two rows of pavers to determine a layout that will not necessitate a lot of cutting. When you determine the layout, begin with a firm, straight edge if feasible. Make sure to tap your stones upward as you place them in order to keep them straight and prevent them from shifting downward.

Finally, use a paver adjuster to make sure your pavers are square and straight.
Step 2: Mark and Cut the Curve
When you finish the laying part, you need to lay a PVC conduit, which length is about 0.5 inches and draw a line on the pavers in order to cut them. When you marked the pavers completely, start using a masonry saw to cut stones.

Step 3: Add Layer of Gravel
Tuck the cloth edges beneath the pathway stones in addition to the pins. Both will assist to hold the cloth in place. For best stability, add a layer of gravel road foundation at least 3 inches thick and up to 6 inches deep. Spread an equal layer using a steel rake.

Step 4: Compact Base Materials
First, use a hose to wet the gravel, then use a plate compactor and hand tamper to compact the gravel down. Keep doing that until you get a solid layer as you need that is lower than the ground level.

Step 5: Install Edging
Install 2×4 plastic paver edging along the trench. Level the pathway to ensure that the edges line up and lie flat. After putting the edging, make sure to cover it with additional sand or mud to prevent it from warping in the sun.

ADD SAND AND JOINTS
Strew sand across the paver pathway after filling gaps between them in order to prevent pavers from shifting by pouring silicate sand in the joints. Using a broom to wipe sand into joints, keep doing until the joints are filled. Before the joints are full, brush excess sand and screed to make a smooth surface.


CLEAN PAVERS AND FINISH TOUCHES
When you finish installing your pavers, clean the leftover sand. After cleaning, mulch the pathway to keep it distinct from your yard. You can also add some creatures to highlight your pavers, such as garden beds to make the border of pavers more eye-catching, or install a lighting system to magnify the appearance of your background and light your pavers at night.

For more information about Green Arbor Landscaping to find out more about our services, here is information you might need:
- Phone: (206) 265-2940
- Email: info@greenarborlandscaping.com
- Website: https://greenarborlandscaping.com/